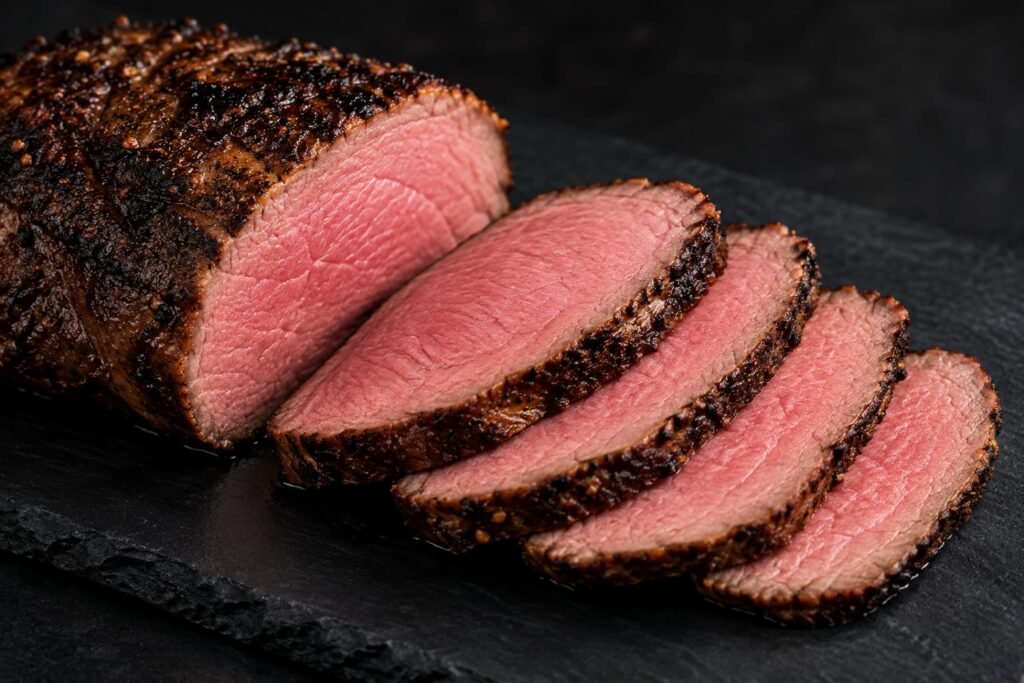
A New York strip roast provides the rich, concentrated flavor of a traditional strip steak in a large format suitable for carving. Preparing a large, lean subprimal cut presents a specific thermal challenge: the exterior must reach temperatures high enough to trigger browning without allowing the outer layers of muscle tissue to overcook and dry out before the center warms.
The slow-roast method (commonly referred to as the reverse sear) addresses this by separating the cooking process into two distinct stages: a gentle, low-temperature cook to bring the interior to target doneness uniformly, followed by a brief, high-temperature sear to brown the exterior.
Understanding the New York Strip Roast
Anatomical Cut: Short Loin vs. Ribeye and Tenderloin
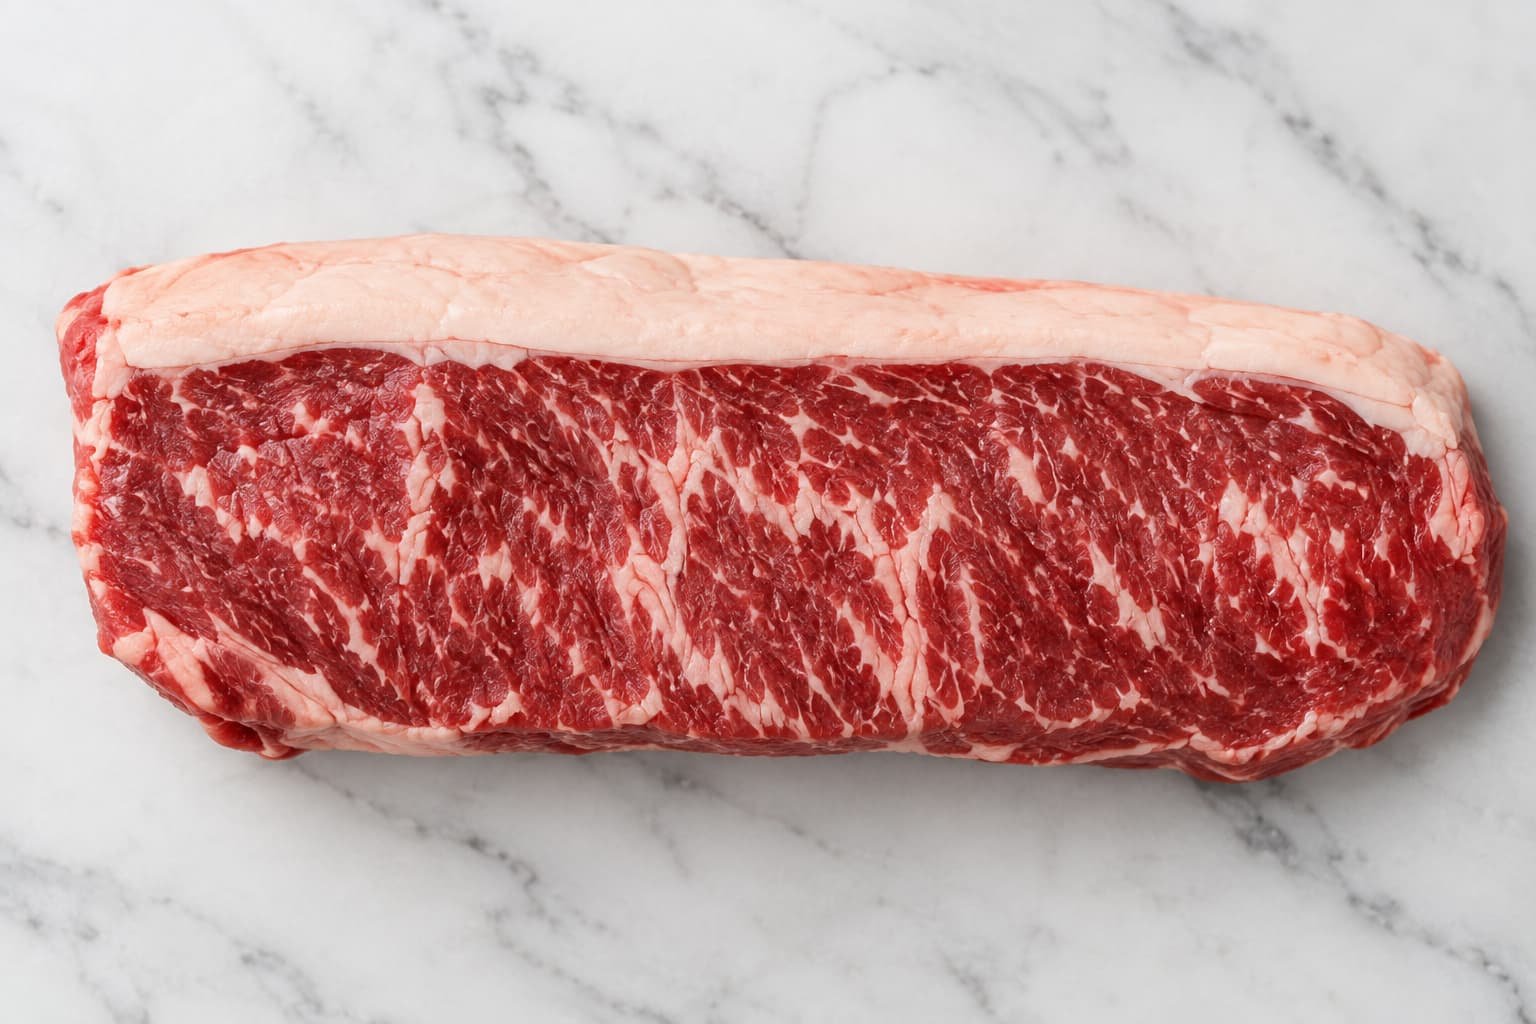
The strip roast is cut from the beef short loin, located along the spine between the rib primal and the sirloin.
Its primary structure consists of the Longissimus dorsi muscle. Because this muscle performs minimal physical work compared to the steer’s chuck or round, it develops relatively low levels of tough collagen while retaining a distinct, cohesive fiber grain:
-
Tenderloin (Psoas major): Experiences almost no mechanical strain, making it exceptionally tender, but it contains minimal marbling and a milder beef flavor.
-
Ribeye (Longissimus dorsi and Spinalis dorsi): Features higher concentrations of seam fat and a looser muscle texture.
-
Strip Roast: Balances tenderness and structural density, offering moderate marbling with a firm, uniform grain throughout.
The Role of the Fat Cap and Intramuscular Marbling
A whole strip loin typically carries a continuous layer of subcutaneous fat along the upper edge.
-
The Exterior Fat Cap: Serving as a thermal buffer, this layer shields the lean muscle from direct heat radiation during roasting. Maintaining a trimmed depth of approximately ¼ inch helps insulate the cut without leaving excess unrendered fat on individual servings.
-
Intramuscular Marbling: Unlike seam fat, intramuscular fat comprises thin flecks embedded between muscle fibers. As internal temperatures rise above 110°F (43°C), these fats begin to soften, lubricating the protein fibers and enhancing perceived tenderness.
Common Retail Names
Retailers and butcher shops use several regional and trade names for this cut:
-
Strip loin roast
-
Top loin roast
-
Whole New York roast
-
Boneless club roast
-
Delmonico roast (used regionally, though sometimes applied to ribeye cuts)
The Culinary Science of Slow-Roasting (Reverse Sear)
How Low-Temperature Roasting Prevents the Gray Band
The wide gray band (often called a “bullseye”) seen in traditionally roasted beef is the direct result of a steep thermal gradient. When a cold roast enters an oven set to 400°F (204°C) or higher, heat transfers into the exterior muscle tissue far faster than it can diffuse to the center. Consequently, the outer inch overcooks to well-done before the core reaches a medium-rare state.
Maintaining ambient temperatures between 225°F and 250°F (107°C to 121°C) narrows this gradient. The rate of heat transfer matches the rate of internal thermal diffusion more closely, allowing the core to warm with minimal heat buildup in the outer layers.
Surface Dehydration and Maillard Reaction Principles
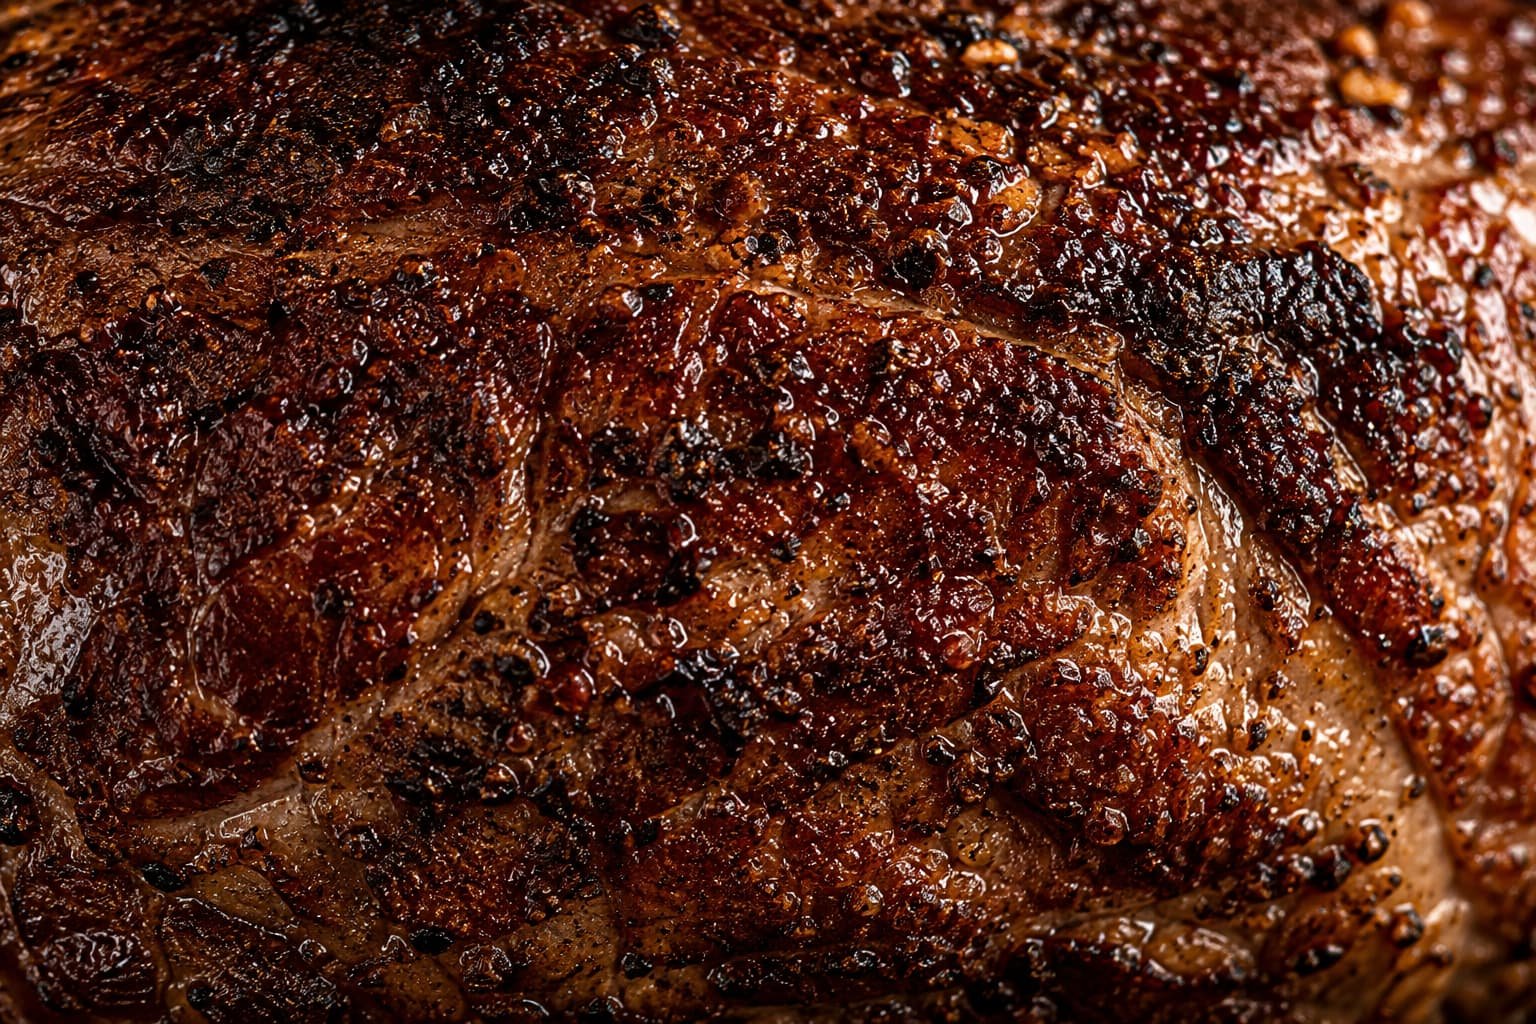
Savory roasted flavors develop primarily through the Maillard reaction—a cascade of chemical reactions between amino acids and reducing sugars that accelerates rapidly at temperatures above 300°F (150°C).
However, surface moisture acts as a thermal ceiling: water absorbs energy and evaporates at 212°F (100°C), preventing the surface from exceeding that threshold until it is completely dry. Extended exposure to dry, circulating heat in a low-temperature oven evaporates this surface moisture gradually. When the meat is subsequently seared at high heat (500°F / 260°C oven or a hot skillet), browning occurs in minutes without overcooking the meat underneath.
Enzymatic Tenderization During Slow Cooking
Beef naturally contains endogenous proteolytic enzymes—principally calpains and cathepsins—that weaken structural proteins and connective tissues.
-
Activity Range: These enzymes accelerate their activity as internal temperatures climb between 100°F and 120°F (38°C to 49°C).
-
Thermal Denaturation: Once core temperatures surpass roughly 122°F (50°C), these enzymes permanently denature.
A low-temperature roasting profile extends the duration the meat spends within this optimal 100°F–120°F window, maximizing enzymatic tenderization compared to rapid, high-heat methods.
Essential Temperature and Doneness Benchmarks
Because roasting speed varies with air movement, meat moisture, and cut dimensions, relying strictly on fixed timers creates inconsistent results. An oven-safe digital probe thermometer inserted into the geometric center provides the only objective measurement of doneness.
Internal Target Temperature Chart (Rare to Well-Done)
In a two-stage slow-roast process, the roast is removed from the oven 5°F to 10°F below the target rested temperature to accommodate carryover cooking and the heat absorbed during the finishing sear.
| Target Doneness | Pull Temperature (Before Rest & Sear) | Anticipated Rested Core Temp | Center Characteristics |
| Rare | 115°F – 120°F (46°C – 49°C) | 120°F – 125°F (49°C – 52°C) | Deep red, soft texture |
| Medium-Rare (Culinary Standard) | 125°F – 130°F (52°C – 54°C) | 130°F – 135°F (54°C – 57°C) | Warm red-to-pink center |
| Medium | 135°F – 140°F (57°C – 60°C) | 140°F – 145°F (60°C – 63°C) | Firm, warm pink throughout |
| Medium-Well | 145°F – 150°F (63°C – 66°C) | 150°F – 155°F (66°C – 68°C) | Slight pink trace, firmer bite |
| Well-Done | 155°F+ (68°C+) | 160°F+ (71°C+) | Uniform brown, firm structure |
Accounting for Carryover Cooking and Heat Retention
When a roast leaves the oven, residual thermal energy stored in its outer layers continues to migrate toward the cooler interior. This process—known as carryover cooking—causes the core temperature to continue rising on the cutting board:
-
Smaller Cuts (3 to 4 lbs): Typically experience an internal rise of 3°F to 5°F when cooked at 225°F.
-
Larger Cuts (6 to 10 lbs) or High-Heat Searing: Can experience a rise of 5°F to 8°F (or more) due to greater overall thermal mass and surface heat.
Removing the roast slightly below the final target prevents the meat from drifting into an unintended tier of doneness during the resting phase.
USDA Food Safety Minimums for Whole Beef Cuts
The United States Department of Agriculture (USDA) establishes a minimum safe internal temperature of 145°F (62.8°C) with a mandatory 3-minute rest for whole-muscle beef cuts.
Targeting rare (120°F–125°F) or medium-rare (130°F–135°F) doneness falls below this federal safety standard. Individuals at higher risk for foodborne illness—including young children, the elderly, pregnant individuals, and those with compromised immune systems—should adhere strictly to recommended regulatory minimums.
Timing Guidelines and Cooking Duration
Estimated Cooking Time per Pound at 225°F to 250°F
While internal core temperature is the definitive guide for doneness, rough time estimates remain useful for scheduling:
-
Medium-Rare (125°F pull): Approximately 30 to 35 minutes per pound.
-
Medium (135°F pull): Approximately 35 to 40 minutes per pound.
Planning Benchmark: A standard 4-pound roast typically requires between 2 and 2.5 hours in a 225°F oven, followed by 15 to 20 minutes for resting and searing.
How Roast Shape and Diameter Affect Overall Duration
Total weight does not dictate cooking time; thickness (cylinder diameter) is the governing physical variable.
Heat travels through meat via thermal conduction, which proceeds inward from the surface. A 6-pound strip roast that is long and narrow (small diameter) will reach target core temperature faster than a 4-pound roast that is short, thick, and round.
-
Diameter Control via Trussing: Strip roasts often taper at one end. Securing the roast with butcher’s twine at 1.5-inch intervals compresses irregular sections into a consistent cylindrical profile. This step prevents the tapered ends from cooking through to well-done before the thicker center warms.
Step-by-Step Preparation and Roasting Method
Trimming, Scoring, and Trussing the Roast
Proper prep work helps the roast cook evenly and facilitates efficient fat rendering.
-
Trimming: Examine the exterior fat cap. If it exceeds approximately ¼ inch in thickness, trim the excess with a sharp knife. Leaving a uniform layer helps insulate the underlying muscle tissue from direct heat. Remove any visible silverskin (shiny, connective elastin tissue) on the lean surfaces, as this tissue contracts when heated and does not break down at standard roasting temperatures.
-
Scoring: Cut shallow diagonal incisions across the fat cap in a crosshatch pattern, spaced roughly 1 inch apart. Cut only into the fat layer, avoiding piercing the red muscle beneath. Scoring provides pathways for rendering fat to escape and allows dry seasoning to reach deeper into the top layer.
-
Trussing: Whole strip loins typically taper toward the sirloin end. Securing the roast with butcher’s twine at 1- to 1.5-inch intervals compresses uneven sections into a relatively uniform cylinder. This mechanical adjustment helps prevent the thinner end from reaching well-done temperatures while the center is still warming.
Dry Brining: Salt Penetration and Surface Moisture Control
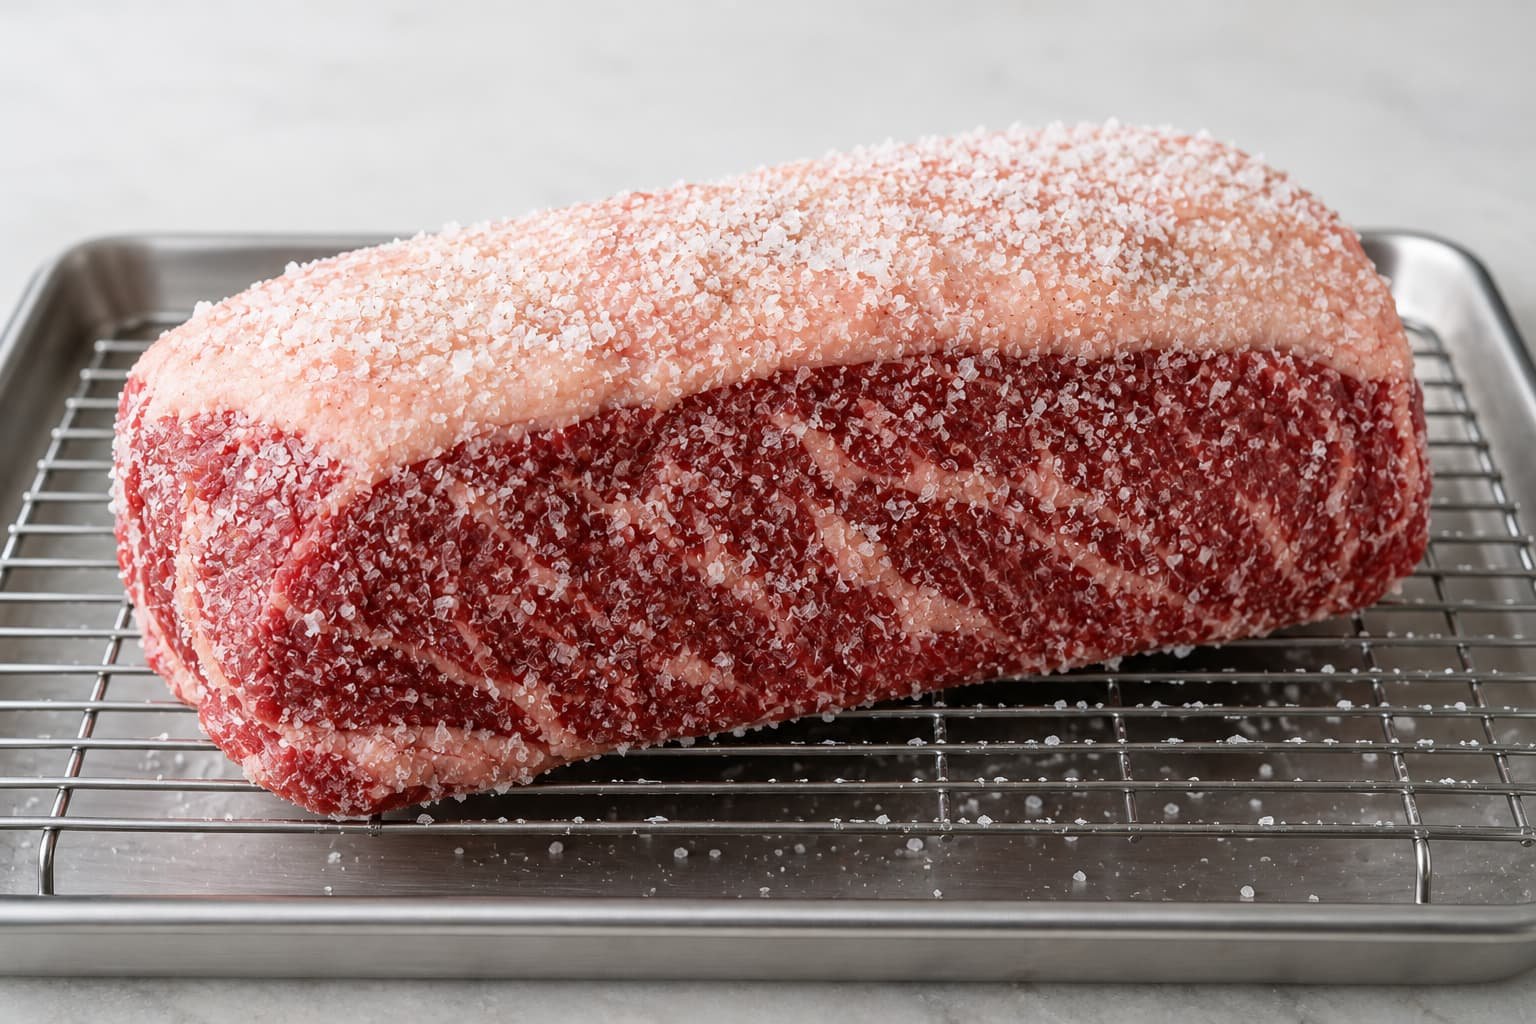
Dry brining involves salting meat hours before cooking to improve seasoning depth and crust development.
-
Application: Coat the trimmed roast evenly with coarse kosher salt, commonly using roughly ½ to ¾ teaspoon per pound.
-
Refrigeration: Place the roast on an elevated wire rack set inside a rimmed baking sheet. Store it uncovered in the refrigerator (maintained below 40°F / 4.4°C for food safety) for 12 to 24 hours.
-
Mechanism: Salt initially draws moisture to the surface via osmosis. As the salt dissolves in these surface juices, it forms a concentrated brine that gradually diffuses back into the muscle fibers. This process seasons the interior tissue and alters protein structures, which can improve moisture retention during cooking. Concurrently, the circulating refrigerator air dries the exterior surface, removing surface water that would otherwise delay browning during the final sear.
Oven Setup: Wire Rack Positioning and Probe Placement
Uniform air circulation is a core component of low-temperature roasting.
-
Rack Setup: Position the main oven rack in the center. Keep the roast elevated on the wire rack inside the sheet pan rather than placing it directly on the metal pan floor. This elevation allows warm air to circulate beneath the cut, preventing the bottom from stewing in collected juices.
-
Orientation: Place the roast fat-side up. As the fat cap warms, rendering drippings wash over the sides, providing natural lubrication.
-
Probe Placement: Insert an oven-safe digital probe horizontally through the side, guiding the sensor tip directly into the geometric center of the thickest portion. Ensure the probe tip does not rest inside a fat pocket or contact bone (if present), as this will produce inaccurate temperature readings.
Set the oven to 225°F to 250°F (107°C to 121°C) and roast undisturbed until the probe registers the designated pre-sear pull temperature (e.g., 125°F to 130°F for medium-rare).
High-Heat Finishing Methods (Oven Blast vs. Cast-Iron Sear)
Because low-temperature roasting does not produce a dark exterior crust, a short application of high heat is typically used to encourage the Maillard reaction. This step should be brief to avoid transferring significant heat into the center.
-
Method A: High-Heat Oven Blast
Remove the roast once it reaches the initial pull temperature and increase the oven setting to 500°F (260°C) or set it to broil. Return the roast to the oven for approximately 5 to 10 minutes, monitoring closely until the fat cap sizzles and turns deep golden brown. This provides an even, hands-off sear across all exposed surfaces.
-
Method B: Stovetop Cast-Iron Sear
Heat a heavy skillet over high heat with 1 to 2 tablespoons of high-smoke-point oil (such as avocado or refined vegetable oil). Sear the exterior for approximately 60 to 90 seconds per side, using tongs to press the fat cap against the hot cooking surface. This method creates a pronounced crust, though it requires manipulating a heavy, hot roast over an open burner.
Resting and Carving Technique (Slicing Across the Grain)
Allow the roast to rest loosely tented with foil on a carving board for 15 to 20 minutes before slicing. Avoid wrapping the meat tightly in foil, as trapped steam softens the crisp exterior crust.
-
Why Resting Works: During cooking, thermal gradients cause muscle fibers to constrict. Allowing the meat to rest gives internal temperatures time to equalize and allows the protein matrix to cool slightly, which helps the tissue retain its juices when sliced.
-
Carving Direction: Cut and remove all butcher’s twine. Identify the direction of the muscle fibers running through the loin. Using a sharp slicing knife, carve slices perpendicular (across) the grain, typically ¼ to ½ inch thick. Slicing across the grain shortens the long muscle fibers, which reduces chewing resistance and produces a more tender mouthfeel.
Common Mistakes That Cause Dry or Tough Strip Roasts
Skipping the Internal Meat Thermometer
Relying solely on time-per-pound calculations or exterior appearance is the most frequent cause of improper doneness. Oven calibrations can deviate noticeably from the set temperature, and variations in roast diameter, fat coverage, and starting meat temperature alter cooking duration. A calibrated digital meat thermometer provides the only reliable measurement of internal doneness.
Carving Immediately Without Adequate Resting Time
Slicing into a roast immediately after cooking leads to rapid moisture loss. Because internal fluids are under thermal pressure and proteins have not stabilized, cutting the meat immediately causes juices to pool onto the cutting board rather than remaining within the muscle structure.
Removing Too Much of the Protective Fat Cap
Trimming away the fat cap entirely exposes the lean Longissimus dorsi muscle directly to dry convective heat. Without an insulating layer of fat to slow surface moisture loss, the outer layer of meat is more prone to drying out and overcooking before the center reaches target doneness.
Frequently Asked Questions
Should a New York strip roast be cooked fat-side up or fat-side down?
Cook the roast fat-side up on an elevated wire rack.
Positioning the fat cap on top creates an insulative thermal buffer that shields the leaner muscle tissue directly beneath from harsh convective heat. As the oven warms, rendering fat slowly coats the exterior sides of the meat.
Conversely, cooking fat-side down on an unraised baking sheet forces the meat to sit in rendered juices. This leads to conductive stewing at 212°F (100°C) rather than dry-heat roasting, resulting in a soggy, gray underside.
Is tying the roast with butcher’s twine necessary?
Tying is recommended if the roast has an uneven thickness or tapered ends, but optional if the cut is already uniformly shaped.
A whole strip loin naturally tapers toward the sirloin end. Trussing the roast with butcher’s twine at 1- to 1.5-inch intervals compresses irregular sections into a consistent cylinder. This equalizes thermal conduction throughout the cut, preventing the narrow end from drying out or overcooking while the thicker center reaches target doneness.
How does a New York strip roast differ from a prime rib roast?
A New York strip roast is leaner and firmer with a top fat cap, whereas prime rib contains heavier interior fat pockets and multiple muscle groups.
| Feature | New York Strip Roast | Prime Rib (Standing Rib Roast) |
| Primal Cut | Short loin (behind the ribs) | Primal rib (ribs 6 through 12) |
| Primary Anatomy | Single muscle (Longissimus dorsi) | Multi-muscle (Longissimus dorsi + Spinalis dorsi) |
| Fat Distribution | Continuous exterior cap; fine marbling | Heavy intermuscular seams; thick fat core |
| Texture & Flavor | Firm, steak-like chew; focused beef flavor | Rich, buttery mouthfeel; melting fat pockets |
What are the best methods to store and reheat leftover slices without overcooking?
Store cooked roast in an airtight container at or below 40°F (4.4°C) for up to 3 to 4 days, and reheat using low, indirect heat.
-
The Low-Oven Method (Recommended for thick slices): Arrange carved slices in a shallow baking dish, add 2 to 3 tablespoons of beef stock or pan drippings, and cover tightly with foil. Warm at 250°F (121°C) until the core reaches 110°F to 120°F (43°C to 49°C) (roughly 15 to 20 minutes). This restores warmth without cooking the pink interior further.
-
The Quick Skillet Method (Recommended for thin slices): Heat a cast-iron skillet over medium-high heat with a trace of butter or oil. Sear slices for 30 to 45 seconds per side to heat the surface quickly without transferring significant heat to the center.
-
Why Microwaving Fails: Microwave radiation vibrates water molecules simultaneously throughout the slice. This rapid vaporization forces muscle proteins to contract abruptly, expelling bound water and turning tender beef rubbery and gray.