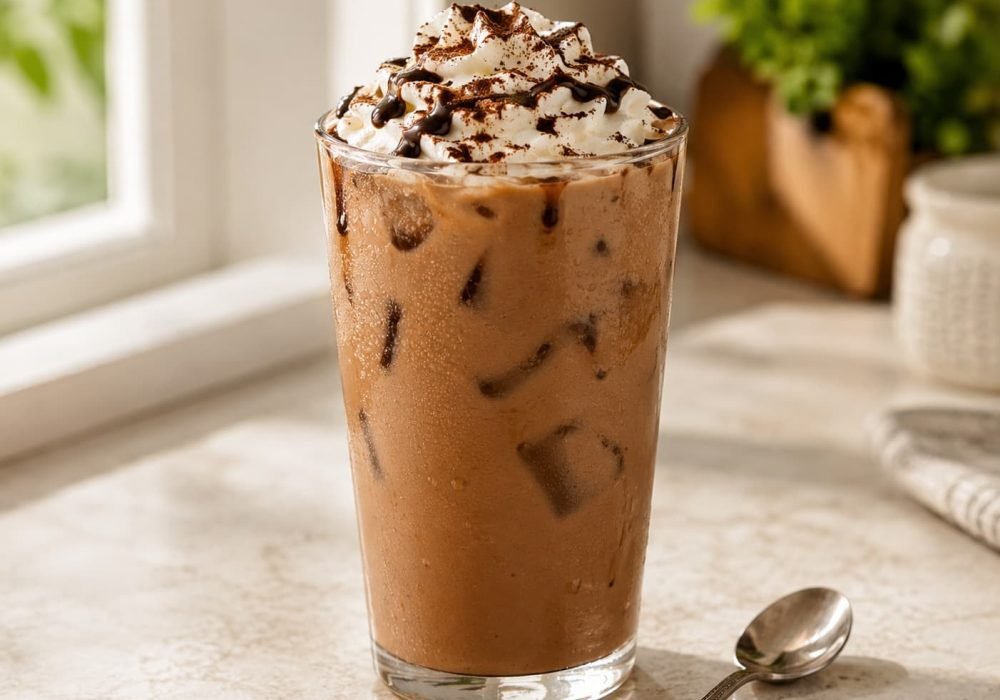
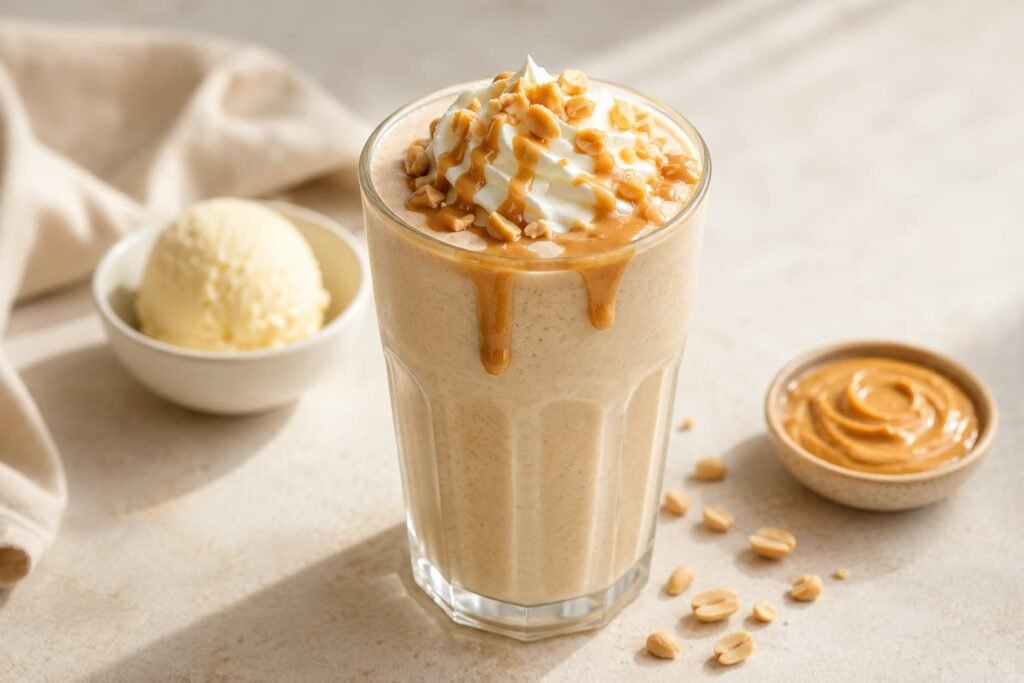
A peanut butter milkshake is a frozen drink commonly made with ice cream, peanut butter, and milk. Ice cream provides the frozen base, peanut butter adds the main flavor, and milk helps create a consistency that can be blended and poured.
This guide focuses on the classic ice-cream-based version. It is different from a peanut butter smoothie or protein shake, which may rely on ingredients such as banana, yogurt, or protein powder instead of ice cream.
The final texture can vary with the type of ice cream and peanut butter used, the amount of milk, and the temperature of the ingredients. This guide explains the general method and ingredient roles rather than relying on an unverified fixed formula.
Quick Answer
A basic peanut butter milkshake is typically made by blending vanilla ice cream, peanut butter, and milk until evenly combined. More milk generally creates a looser consistency, while using less liquid can produce a thicker mixture.
Because ice cream and peanut butter products vary in texture and composition, adjustments are best made gradually. If the shake is too thick to blend or pour, additional milk can be introduced gradually. If it becomes thinner than intended, increasing the frozen base is one possible adjustment.
What Is a Peanut Butter Milkshake with Ice Cream?
A peanut butter milkshake is a frozen dessert drink made by blending ice cream, peanut butter, and enough milk to create a pourable consistency. Ice cream forms the frozen base, peanut butter provides the main flavor, and milk helps the mixture move through the blender.
It differs from a smoothie or protein shake mainly in its base and ingredients. Smoothies commonly rely on fruit, yogurt, or similar ingredients, while protein shakes may include protein powder or other protein-focused ingredients. This article treats the ice-cream-based version as a frozen dessert drink rather than expanding into those separate drink categories.
Which Ingredients Are Commonly Used in a Peanut Butter Milkshake?
Ice Cream, Peanut Butter, and Milk
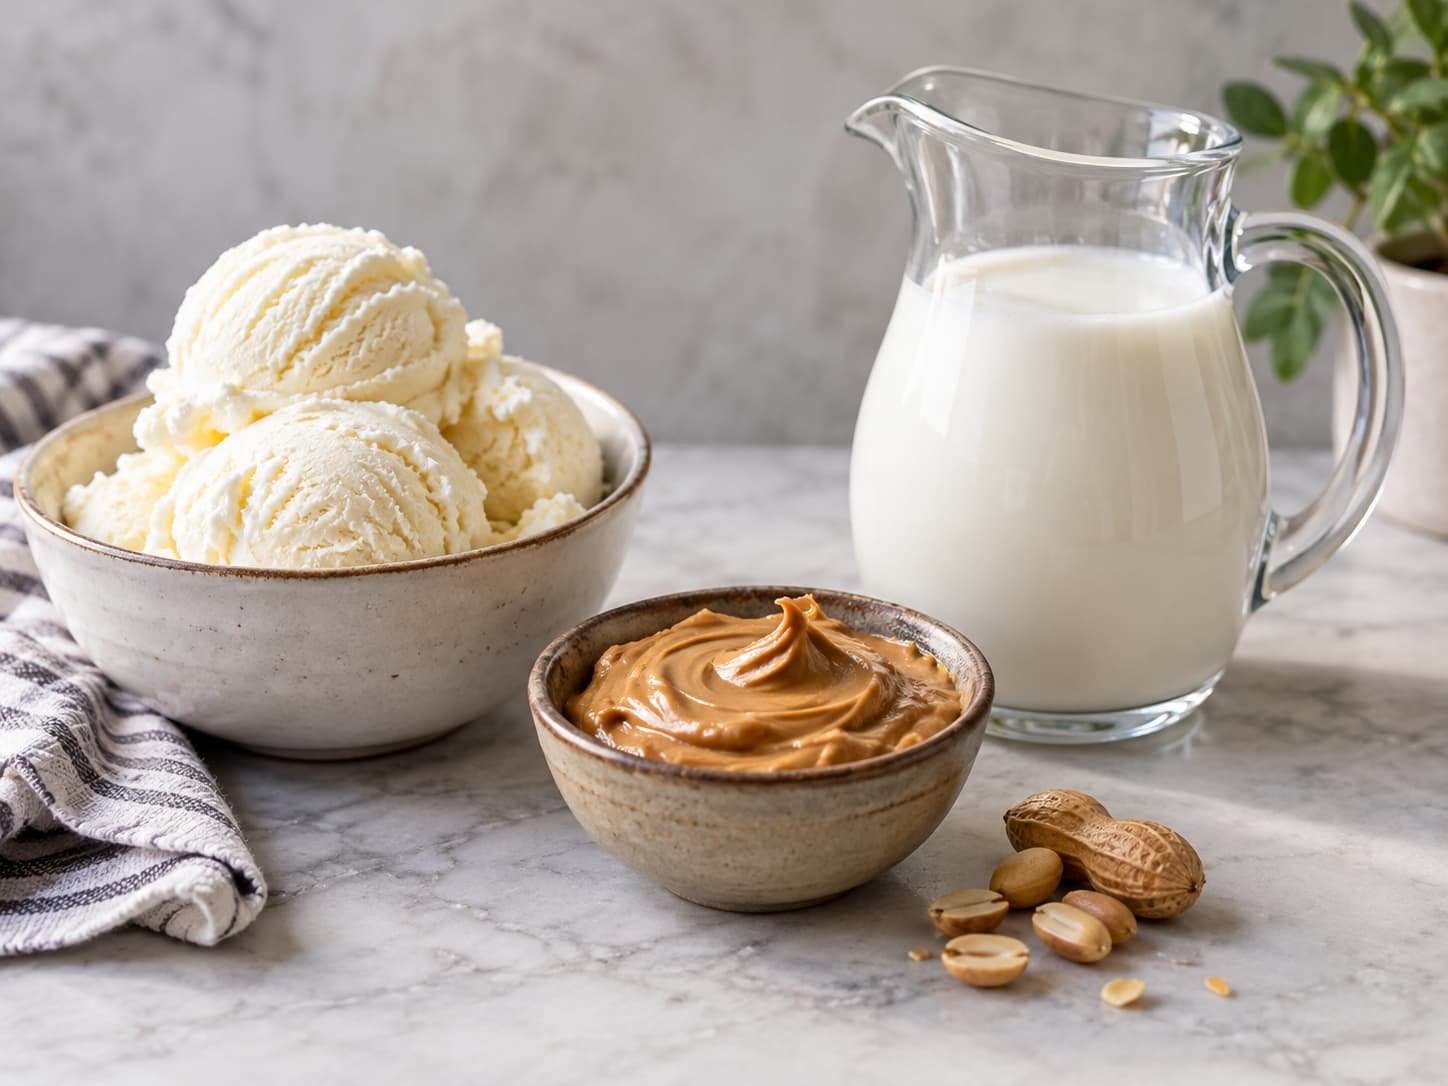
Vanilla ice cream is commonly used as the frozen base because its relatively simple flavor allows the peanut butter to remain prominent. Other ice cream flavors can also be used, although they will change the overall flavor of the drink.
Peanut butter supplies the characteristic peanut flavor and also contributes to the texture. Creamy peanut butter generally blends more evenly, while varieties containing peanut pieces can leave more noticeable texture in the finished drink. Different products may also vary in consistency, oil content, added sugar, and other ingredients, so the result can differ between brands and types.
One commercially available conventional option is Jif Creamy Peanut Butter. Product formulations can change, so current package information should be checked when specific ingredient details matter.
Milk provides liquid that helps loosen the frozen ingredients for blending. How much is needed can depend on factors such as the firmness of the ice cream, the consistency of the peanut butter, and the type of milk used.
Frozen dessert products can differ in fat, sugar, water content, stabilizers, and overall firmness. Because of these differences, two milkshakes made with similar proportions may still have different consistencies.
Readers who want to explore homemade frozen bases can also see these homemade ice cream recipes without a machine.
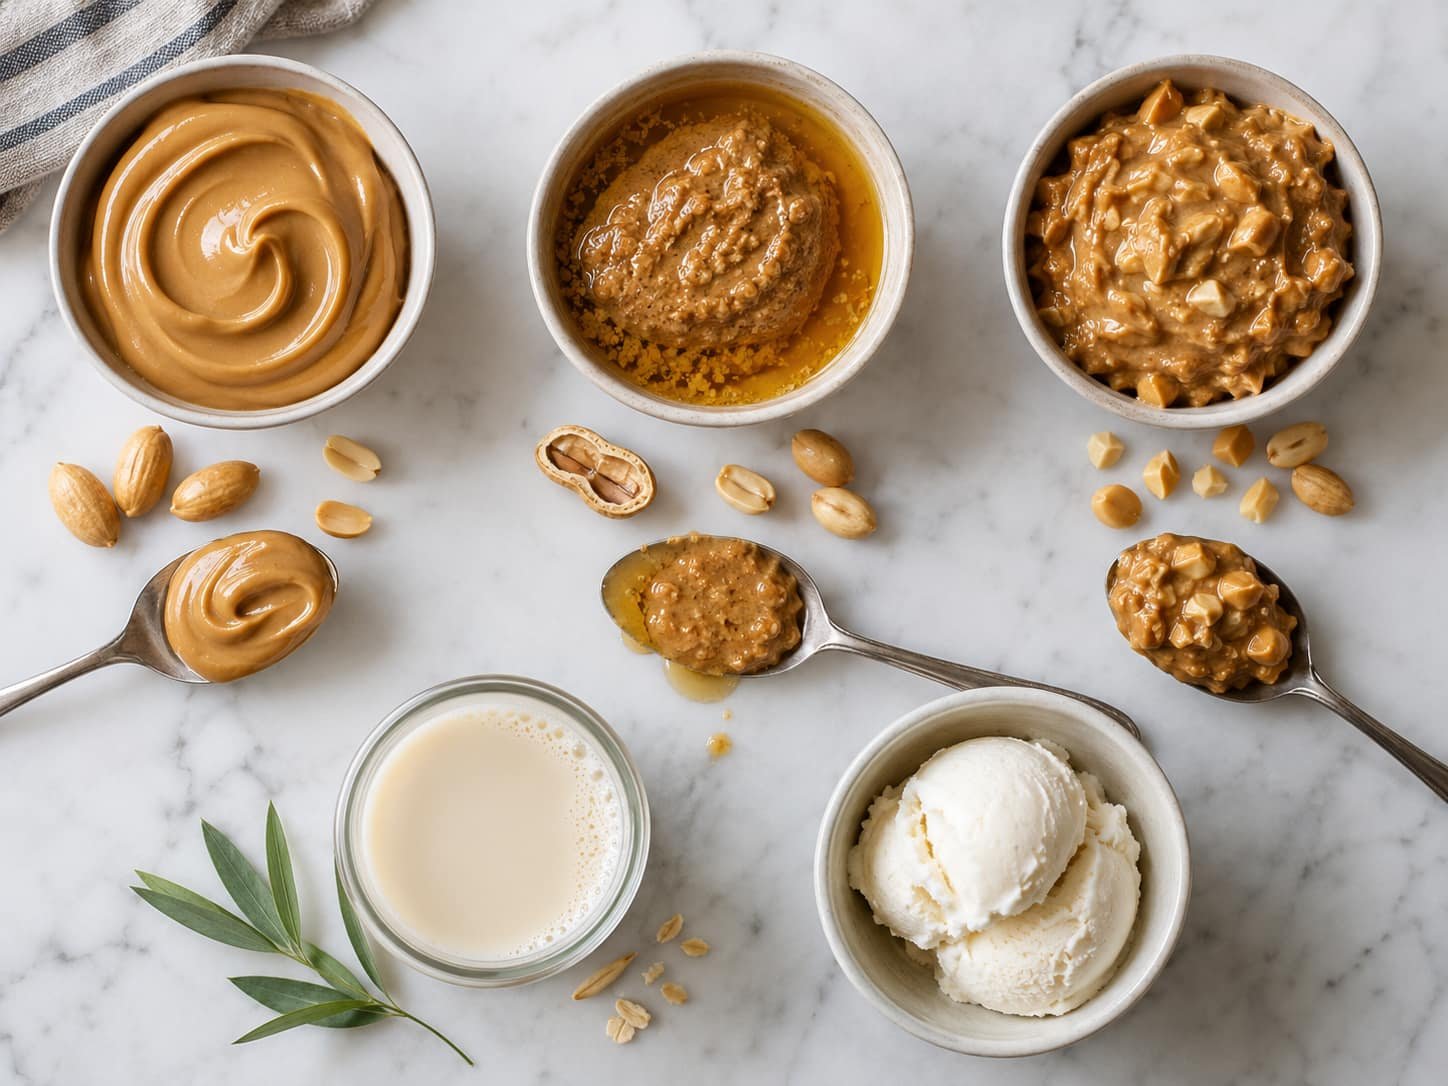
What Changes When Using Natural, Chunky, or Dairy-Free Ingredients?
Natural peanut butter may separate during storage, with oil becoming more noticeable at the top of the container. If the product instructions call for stirring, mixing it thoroughly before measuring can help redistribute the ingredients.
Chunky peanut butter contains pieces of peanuts, so some pieces may remain noticeable after blending. How smooth the drink becomes will depend partly on the peanut butter and the blender being used.
For a dairy-free variation, plant-based milk and a dairy-free frozen dessert can be used instead of conventional dairy products. However, plant-based milks and frozen desserts vary in thickness, sweetness, fat content, and formulation. They should not be assumed to behave exactly like their dairy counterparts.
A practical approach is to add the liquid gradually and assess the consistency as the mixture blends rather than relying on a fixed substitution ratio.
How Is a Peanut Butter Milkshake Typically Blended?
A peanut butter milkshake is typically made by blending ice cream, peanut butter, and milk until the ingredients are evenly combined. The exact method can vary with the blender, the firmness of the ice cream, and the consistency of the peanut butter, so a fixed blending time or speed is not necessary.
Adding and Combining the Ingredients
Use a blender that is suitable for the ingredients being processed. One commercially available option designed for frozen drinks is the Ninja Professional Plus Blender with Auto-iQ. Whichever blender is used, follow the manufacturer’s instructions, especially if a particular ingredient order is recommended.
The mixture needs enough liquid to circulate through the blender. If the ingredients stay packed around the blades or do not move freely, the balance of liquid and frozen ingredients may need adjustment.
Blend until the mixture is reasonably uniform and no large unmixed areas remain.
Adjusting the Consistency
If the milkshake is too thick to blend or pour, additional milk or another suitable liquid can be added gradually. Small adjustments provide more control than adding a large amount at once.
If the mixture becomes thinner than intended, adding more frozen base can increase the proportion of frozen ingredients. The amount needed will depend on the ice cream, peanut butter, milk, and any additional flavorings already present.
Because these ingredients vary between products, there is no single adjustment amount that will produce the same consistency every time.
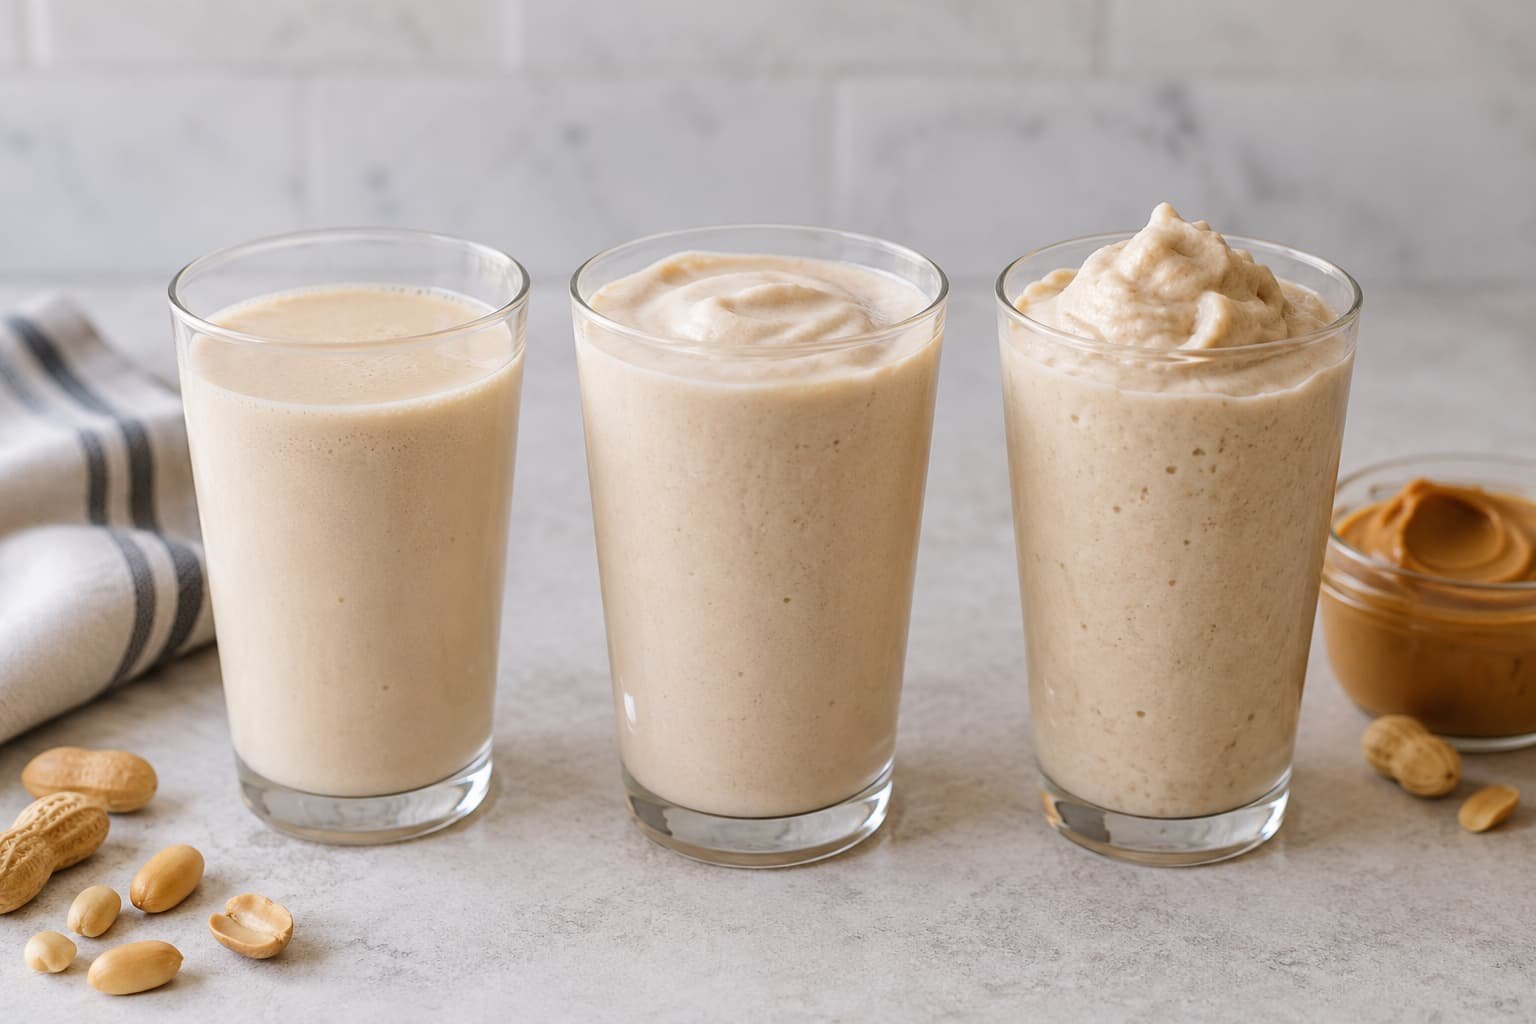
What Affects the Thickness and Texture of a Peanut Butter Milkshake?
Milkshake texture is influenced by the balance between frozen ingredients and liquid, the temperature of those ingredients, and the formulation of the products used. Peanut butter type and additional ingredients such as syrups, nuts, or chocolate can also change the consistency.
Why Can a Milkshake Become Too Thin?
A milkshake may become too thin when there is a relatively high amount of liquid compared with the frozen base. Ice cream that has softened considerably before blending can also result in a looser mixture.
Liquid additions such as chocolate syrup or other flavorings can further change the liquid balance. Their effect will depend on the amount used and the rest of the ingredients.
A thin consistency can therefore have several causes rather than one single explanation.
Why Can a Milkshake Be Too Thick or Difficult to Blend?
A milkshake may be difficult to blend when there is too little liquid for the frozen ingredients to circulate. Very firm ice cream or dense peanut butter can also make the mixture harder to move.
Blenders vary in jar shape, blade design, and capability, so the same mixture may behave differently between appliances. Manufacturer guidance should take priority when working with thick or frozen mixtures.
If the ingredients are not circulating, gradually adding more liquid is one possible adjustment rather than assuming that longer blending will solve the problem.
What Can Cause an Uneven or Grainy Texture?
An uneven texture can come from ingredients that naturally contain solid pieces or have not been evenly mixed before blending.
Chunky peanut butter contains peanut pieces, so some texture may remain in the finished drink. Natural peanut butter may separate during storage. When the product label instructs users to stir before use, doing so can help redistribute the oil and peanut solids.
Solid additions such as chopped nuts or chocolate pieces may also remain noticeable after blending. How much texture remains depends on the ingredients, their size, and how effectively the blender processes them.
A textured result does not always indicate a preparation problem. In some cases, it simply reflects the ingredients used.
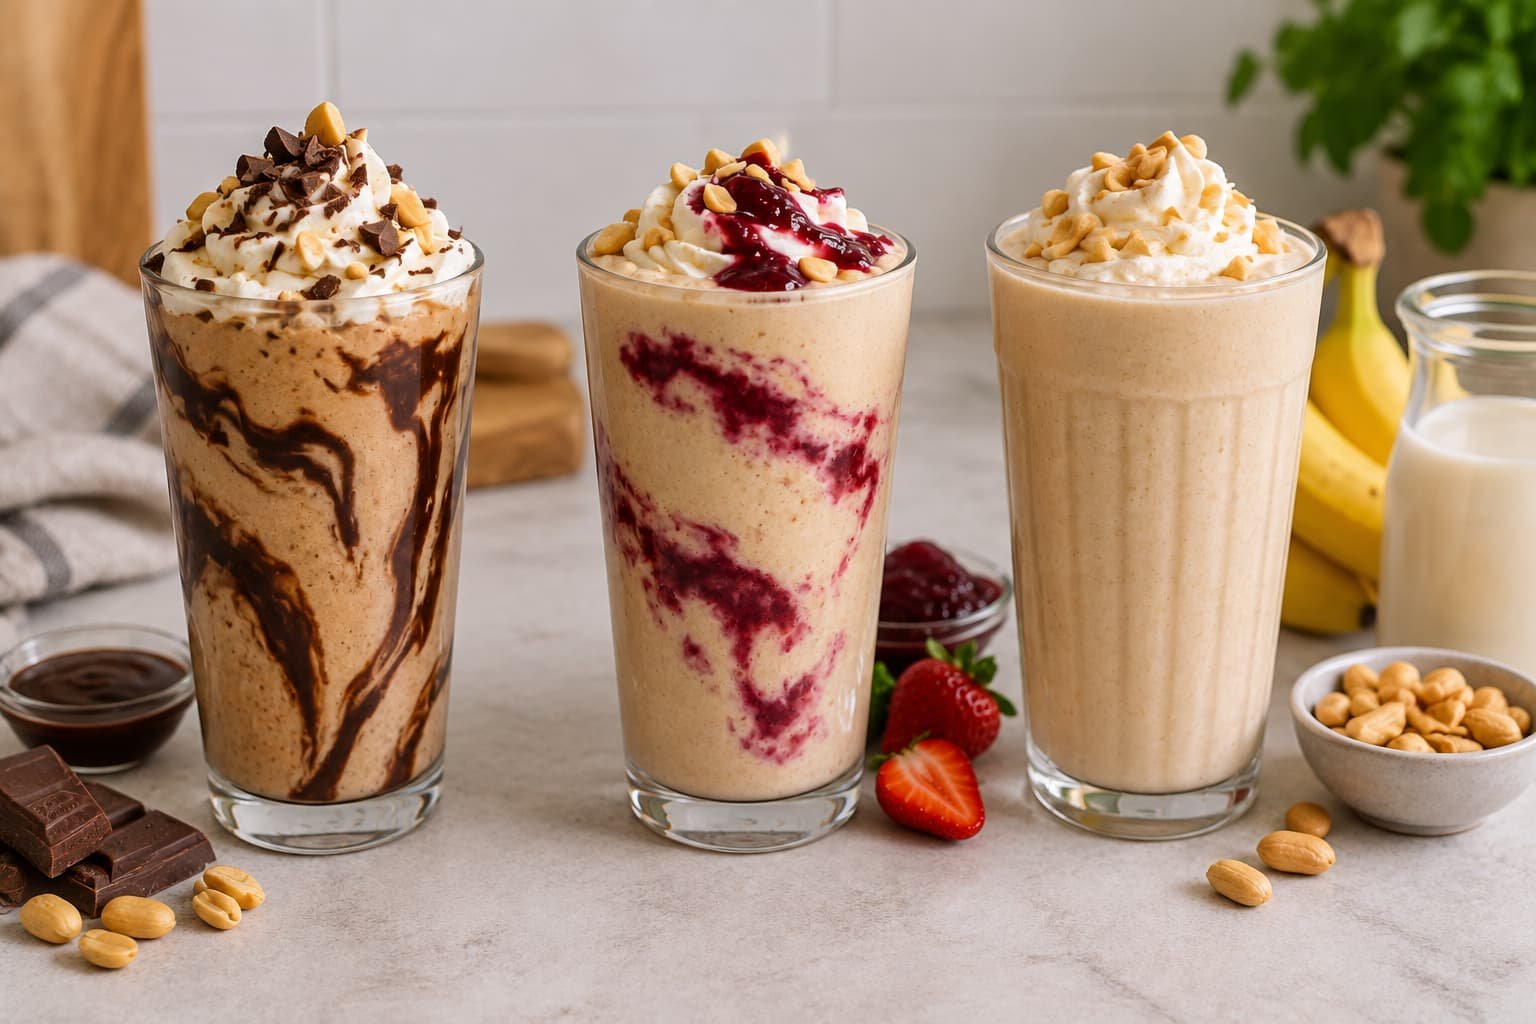
How Can the Basic Peanut Butter Milkshake Be Adapted?
The basic combination can be adapted with chocolate, fruit preserves, or non-dairy ingredients. These additions may change sweetness, flavor, and consistency, so the rest of the mixture may need adjustment.
Chocolate and Peanut Butter-and-Jelly Variations
For a chocolate version, cocoa powder, chocolate syrup, or another chocolate ingredient can be incorporated into the mixture. Cocoa powder and liquid chocolate ingredients behave differently, so they should not be treated as interchangeable in terms of consistency.
For readers choosing an unsweetened cocoa powder, HERSHEY’S COCOA 100% Cacao Natural Unsweetened Cocoa is one commercially available option.
A peanut butter-and-jelly-style variation can include jam, jelly, or fruit preserves. These products vary in sweetness, thickness, and water content, which may affect both flavor and texture.
There is no universal amount that works for every product. Adding flavoring gradually is one practical way to make adjustments without relying on an unverified fixed ratio.
Readers interested in another chocolate-and-peanut-butter dessert can also explore this chocolate chip and peanut butter chip cookie recipe.
Dairy-Free Variation
A dairy-free variation can use a dairy-free frozen dessert and a suitable plant-based milk in place of conventional dairy ingredients.
Plant-based milks and dairy-free frozen desserts differ in formulation, thickness, sweetness, fat content, and water content. As a result, they should not be assumed to behave exactly like dairy milk and conventional ice cream.
A universal one-for-one substitution ratio should therefore not be assumed. Adding the plant-based milk gradually allows the consistency to be adjusted according to the particular frozen dessert and peanut butter being used.
What Should Be Considered When Serving or Preparing It Ahead?
A milkshake made with ice cream can change consistency as its temperature changes. For that reason, preparation timing matters if the goal is to serve it with a particular texture.
Does Preparing the Milkshake Ahead Affect Its Texture?
Yes. As frozen ingredients warm and soften, the milkshake can become more fluid. Chilling or freezing it again may change the texture, so a drink prepared well in advance may not have the same consistency it had immediately after blending.
One possible approach is to blend the milkshake closer to serving. If it is prepared ahead, check the consistency before serving rather than assuming it will remain unchanged.
No universal refrigerator or freezer storage duration is provided here because appropriate storage guidance can depend on the specific dairy or non-dairy ingredients used.
What Allergen Information Should Be Considered?
Peanuts and milk are classified as major food allergens in the United States. A version made with peanut butter, dairy milk, and dairy ice cream therefore contains ingredients that require attention when peanut or milk avoidance is necessary.
A dairy-free product can still contain other allergens depending on its ingredients. Plant-based milks, frozen desserts, flavorings, and toppings should therefore be checked individually.
When allergen avoidance matters, read the complete ingredient information and allergen labeling on packaged products rather than relying only on names such as “dairy-free” or on a general recipe description.
Frequently Asked Questions
Can You Make a Peanut Butter Milkshake Without Ice Cream?
Yes, a peanut-butter-based blended drink can be made without ice cream, but removing the frozen dessert changes the formulation and the type of drink.
Ice cream normally supplies much of the frozen base, so another ingredient approach would be needed to create a cold, blended consistency. An alternative formula should not be assumed to behave the same way as an ice-cream-based milkshake.
Can You Make a Peanut Butter Milkshake Without a Blender?
It may be possible to use another suitable appliance, depending on the ingredients and equipment available. The resulting texture may differ from a blender-made version.
Check the equipment manufacturer’s instructions before processing firm or frozen ingredients.
Can a Peanut Butter Milkshake Be Prepared in Advance?
Yes, but its consistency may change before serving as the frozen ingredients warm or are chilled again.
If texture is important, blending closer to serving is one possible approach. Storage should follow guidance appropriate to the specific ingredients rather than a single assumed time limit.